How to Make an Image Look Like Its Tilted Back in Illustrator
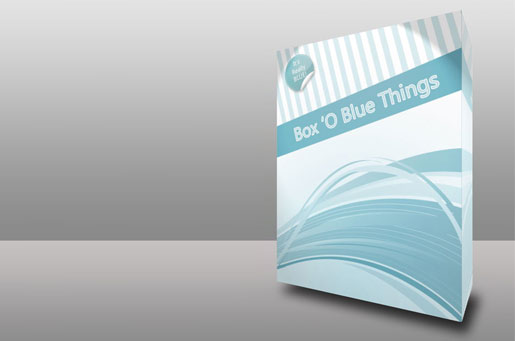
As designers, we are sometimes tasked with transforming a design from one medium to another. One common example is when a software product that has its own brand and label needs to be sold online, and a design for the box is needed — even if the box isn't actually produced or sold with the software. Or, maybe you really do need to create a prototype box design, and you don't want to start from scratch.
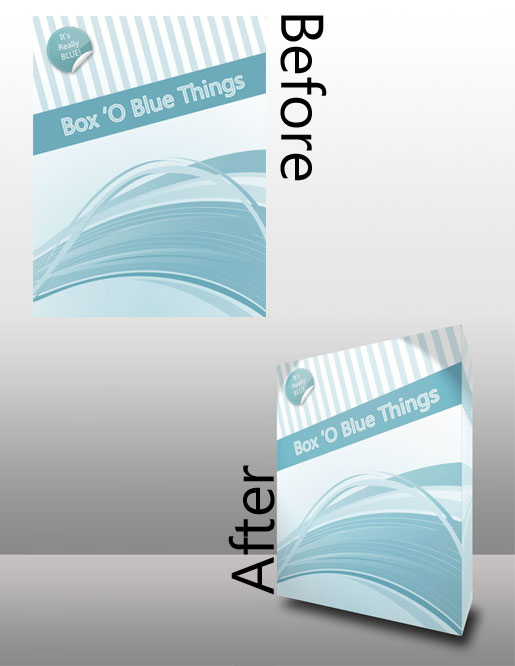
This tutorial walks you through how to take a 2D design and turn it into a tilted 3D box with realistic lighting and shadows. You will be using Illustrator and Photoshop to make the complete design. I created a super-generic design, but these same steps can be followed with all shapes and sizes of designs, including polished, finalized cover art.
Step 1: Getting Started
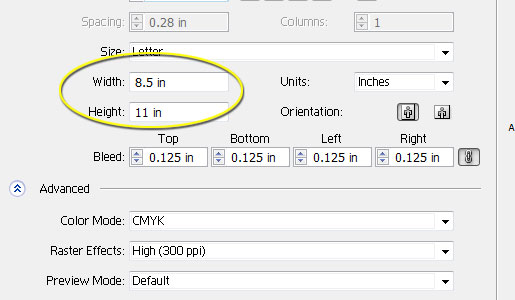
Launch Illustrator with an 8.5 x 11 inch document.
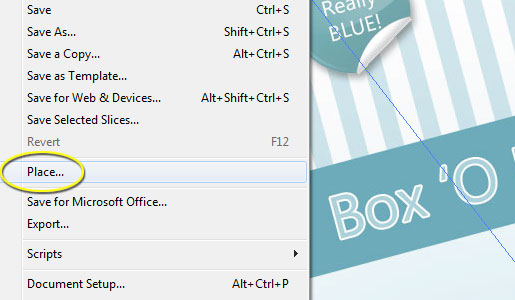
Place the design onto the Artboard.
Step 2: 3D Effect
To get that wonderful 3D effect, go to "Effect" -> "3D" -> "Extrude & Bevel." Use the following settings. The hex color value for the "Shading Color" is #6caaba:
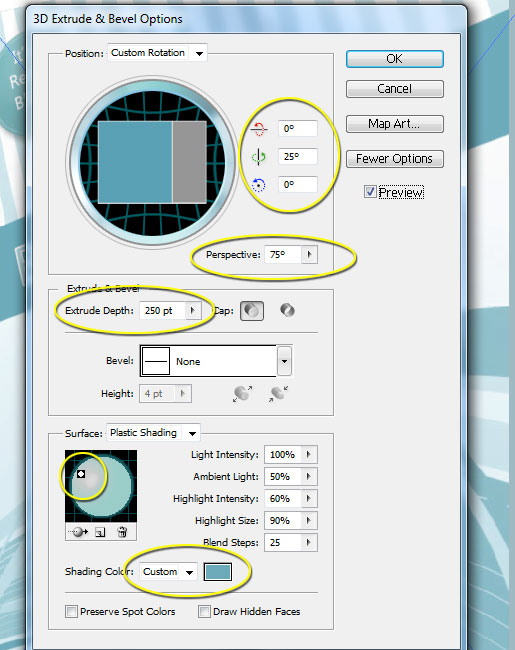
Step 3: Setting Up Photoshop
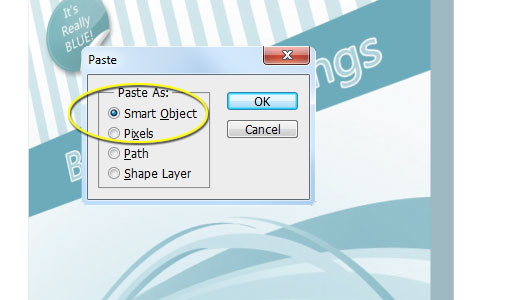
Copy your layer in Illustrator and then launch Photoshop with an 8.5 x 11 inch canvas. Paste your design as a "Smart Object." Resize as needed.
Step 4: Background
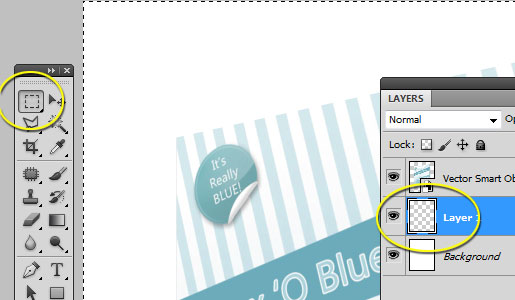
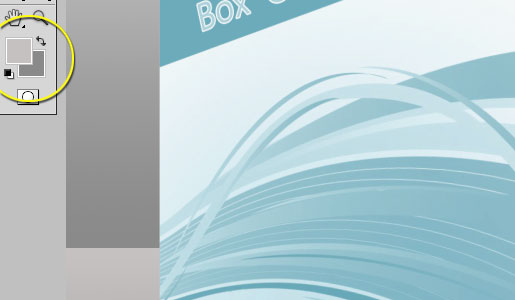
You should have two layers in Photoshop at this point — a background layer and the "Vector Smart Object" layer. Create a new layer above the background, and use the Rectangle Marquee Tool to select about 60% of the image from the top.
Grab the Gradient Tool, and make a gradient that starts with a light gray (#e5e5e5) at the top and transitions to a dark gray (#8a8a8a) at the bottom.
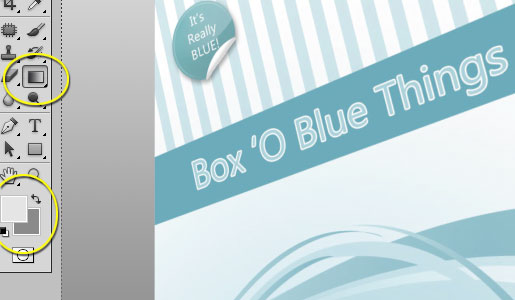
Rinse and repeat for the bottom 40% of the design. I like to tone down the light gray at the top for this one, so try a darker gray (#c5c1c1) for this second gradient.
Step 5: Drop Shadow
Create a new layer. Using the Polygonal Lasso Tool, trace a shape along the bottom. You'll have to use your imagination to guess where the bottom of the box would be. This might be the trickiest part of the tutorial, not because it's difficult to do, but because you may not know what I'm doing at this point. We want to create a shape that mirrors what the bottom of the 3D box would look like, not in design, but in shape. We will use this to create the perfect drop shadow effect.
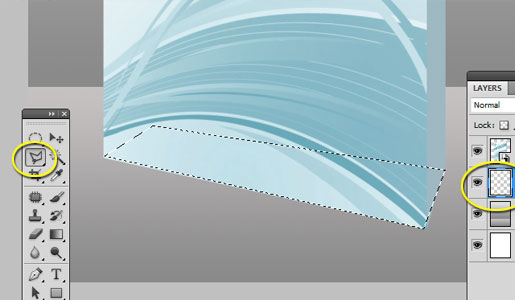
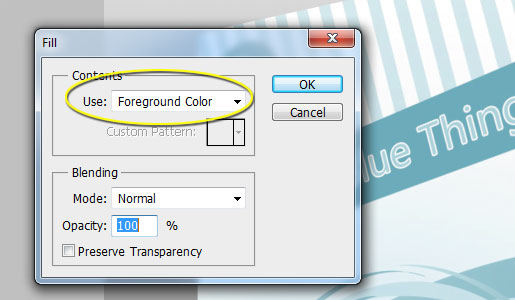
Go to "Edit" -> "Fill" and select Foreground Color for the contents. It doesn't matter what color you use.
Now, go to the Blending Options (right-click in the layer pallet and select "Blending Options"). In the Drop Shadow panel, use the following settings:
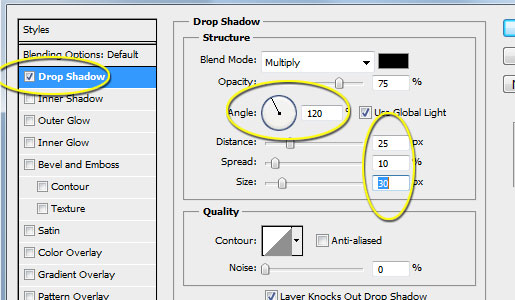
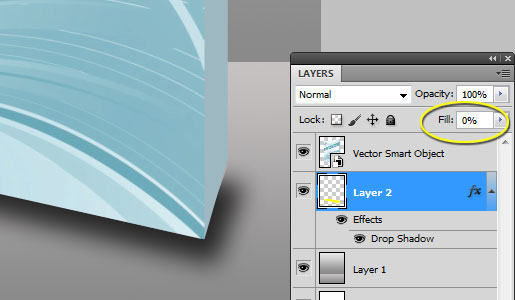
If you're having problems with your shape showing through, set the layer's Fill to 0%. The shadow will still be visible.
Step 6: Box Side
You can either hand draw the side of the box, or if you have the actual Photopshop files you can just use the layers in the files to make the sides perfect. For the rest of us less ambitious folks, we'll need to use the layers we already have open. Duplicate the Vector Smart Object layer and Right-Click -> Rasterize Layer.
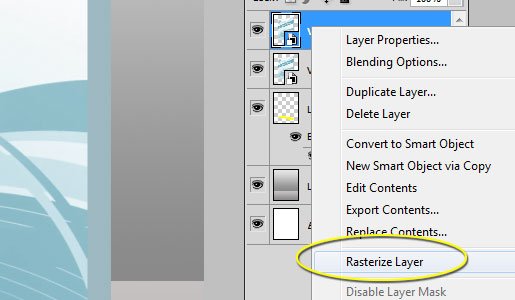
Using the Rectangular Marquee Tool, select the image from the side of the box over to the right and hit Delete.
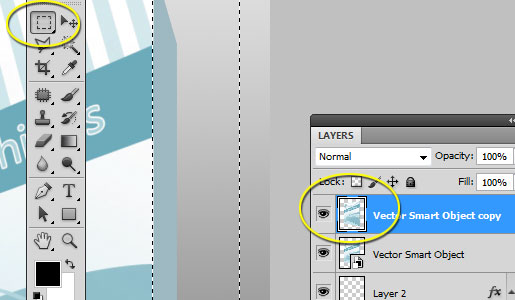
Go to "Select -> "Deselect." Then, go to "Edit" -> "Transform" -> "Flip Horizontal."
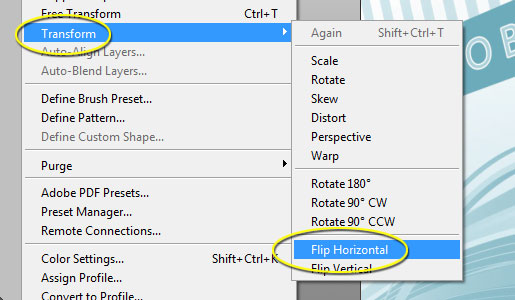
Using the Move Tool, hold shift while moving the image flush up against the left side of the Vector Smart Object layer.
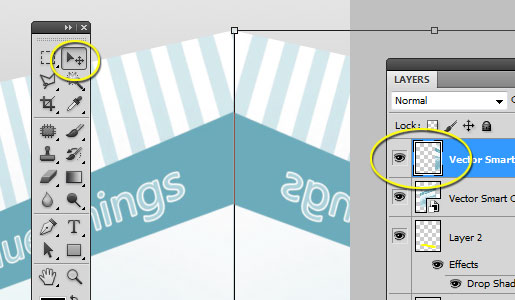
Go to "Edit" -> "Transform" -> "Perspective" and start in the top-right corner. Drag down a very long way until you can see the top go flush with the Vector Smart Object layer. You'll see the layer actually get a bow-tie effect, as shown below.
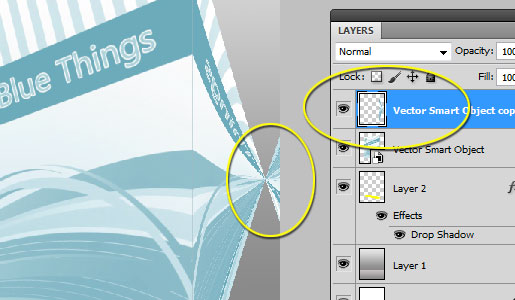
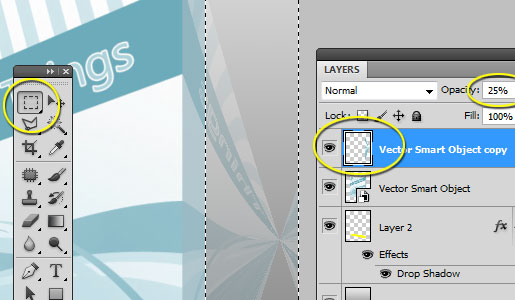
Using the Rectangle Marquee Tool, cut the right side of the layer off flush with the Vector Smart Object below it. I dialed back the opacity of the layer temporarily for this step.
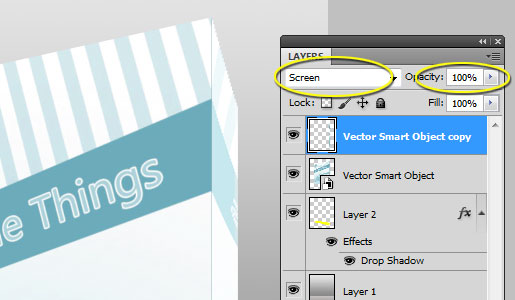
Set the Blending Mode to "Screen" and put the opacity back to 100% if you changed it.
Step 7: Lighting Effects
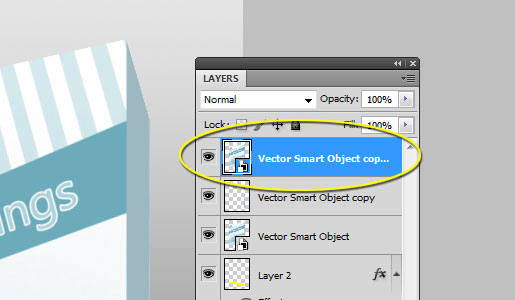
If you want some more dramatic lighting effects, start by duplicating the Vector Smart Object layer and moving the copy up to the top of the layers.
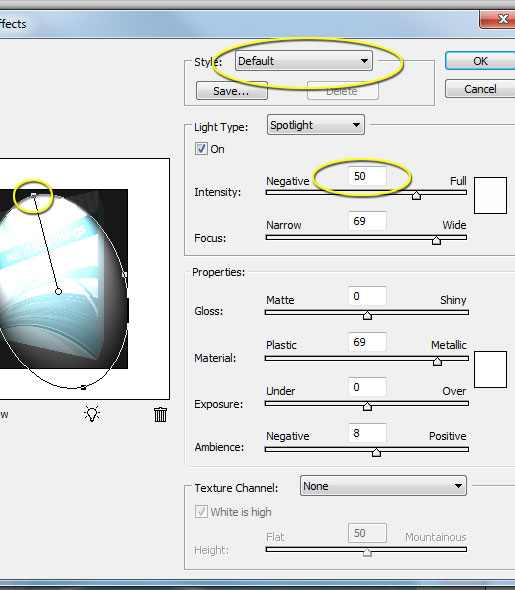
Go to "Filter" -> "Render" -> "Lighting Effects," and use the following settings:
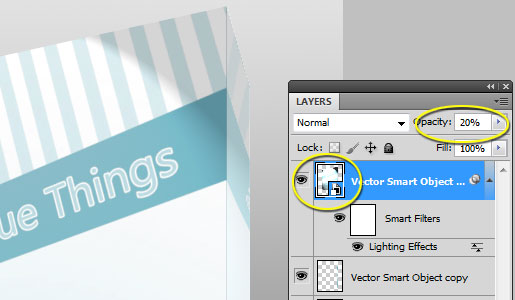
Dial the new lighting effects back a bit by reducing the opacity to 20%.
Final Product
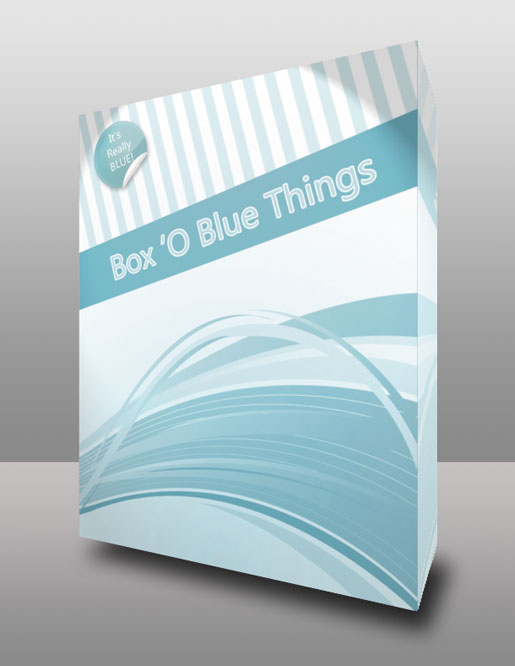
And there you have it! A slick prototype from a standard 2D graphic to give you a starting point, or even a final product. Click the image below to see the full-size version:
How to Make an Image Look Like Its Tilted Back in Illustrator
Source: https://www.sitepoint.com/how-to-add-a-tilted-shaded-3rd-dimension-to-a-2d-image/
0 Response to "How to Make an Image Look Like Its Tilted Back in Illustrator"
Post a Comment